How To Replace Wood Flooring
Replacing wood flooring can be a challenging task, but it is one that can be completed with a little bit of planning and preparation. By following the steps outlined in this guide, you can ensure that your new wood floor is installed correctly and lasts for many years to come.
Step 1: Remove the Old Flooring
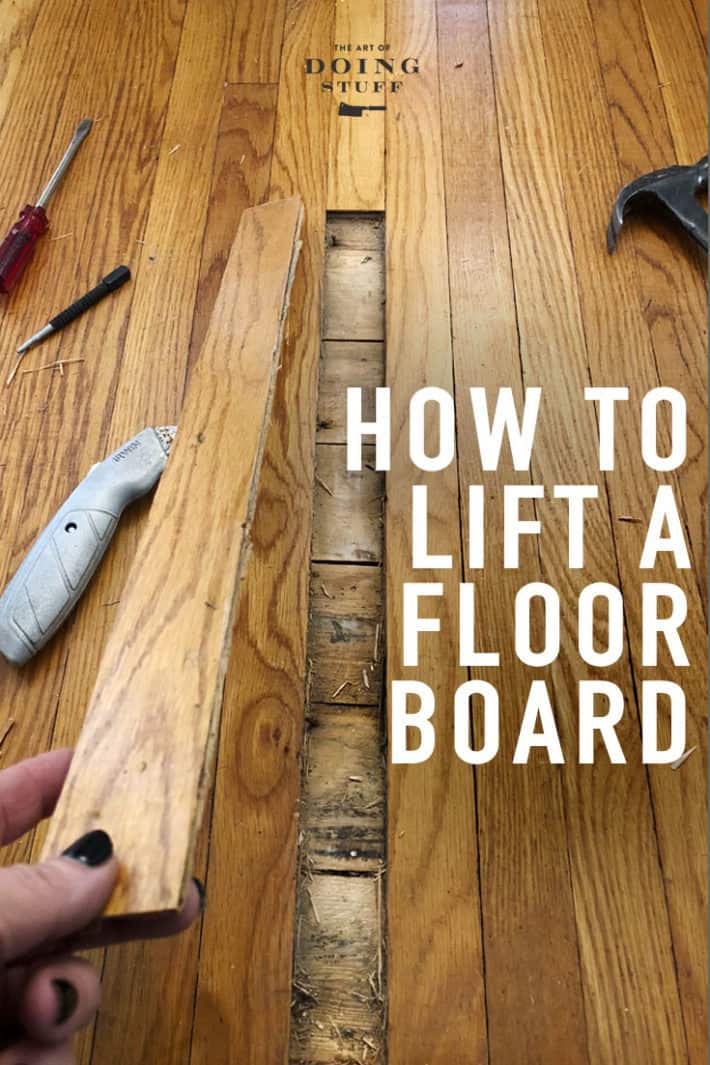
The first step is to remove the old flooring. This can be done using a pry bar or a power tool such as a circular saw. If you are using a pry bar, be careful not to damage the subfloor. If you are using a circular saw, be sure to wear safety glasses and ear protection.
Step 2: Prepare the Subfloor
Once the old flooring has been removed, you need to prepare the subfloor for the new flooring. This may involve leveling the subfloor, repairing any damage, and installing a vapor barrier. A vapor barrier is a thin sheet of plastic that helps to prevent moisture from seeping up into the new flooring. If you are not sure how to prepare the subfloor, it is best to consult with a professional.
Step 3: Install the Underlayment
The next step is to install the underlayment. Underlayment is a thin layer of material that is placed between the subfloor and the new flooring. Underlayment helps to cushion the flooring and reduce noise. There are many different types of underlayment available, so be sure to choose one that is appropriate for your needs.
Step 4: Install the Wood Flooring
Now you are ready to install the wood flooring. Start by laying out the first row of flooring along one wall. Be sure to leave a small gap between the flooring and the wall to allow for expansion. Once the first row is in place, you can begin installing the remaining rows. Use a flooring nailer or a hammer and nails to secure the flooring to the subfloor. Be sure to stagger the joints between the rows to create a stronger floor.
Step 5: Trim the Flooring
Once the flooring is installed, you need to trim it around the edges of the room. This can be done using a circular saw or a jigsaw. Be sure to wear safety glasses and ear protection when trimming the flooring. Once the flooring is trimmed, you can install the baseboards and moldings.
Step 6: Finish the Flooring
The final step is to finish the flooring. This can be done by applying a sealant or a finish. Sealants help to protect the flooring from moisture and wear. Finishes can give the flooring a glossy or matte look. There are many different types of sealants and finishes available, so be sure to choose one that is appropriate for your needs.

How To Repair And Replace Wood Flooring Pro Tool Reviews

Guide To Removing And Replacing Real Wood Floors Diy Advice

How To Repair And Replace Wood Flooring Pro Tool Reviews

How To Repair Hardwood Floors The Craftsman Blog

How To Replace A Damaged Hardwood Floor Board Diy Family Handyman

Removing Replacing A Damaged Hardwood Flooring Board

How To Remove A Single Piece Of Hardwood Flooring The Art Doing Stuff
:strip_icc()/101206837-1dd14e2eaebe404e9c0e3fd1494b7c77.jpg?strip=all)
How To Install Hardwood Floors

Hardwood Floor Repair Easy Steps That Work

How To Replace Damaged Wood Flooring Plank Esb


